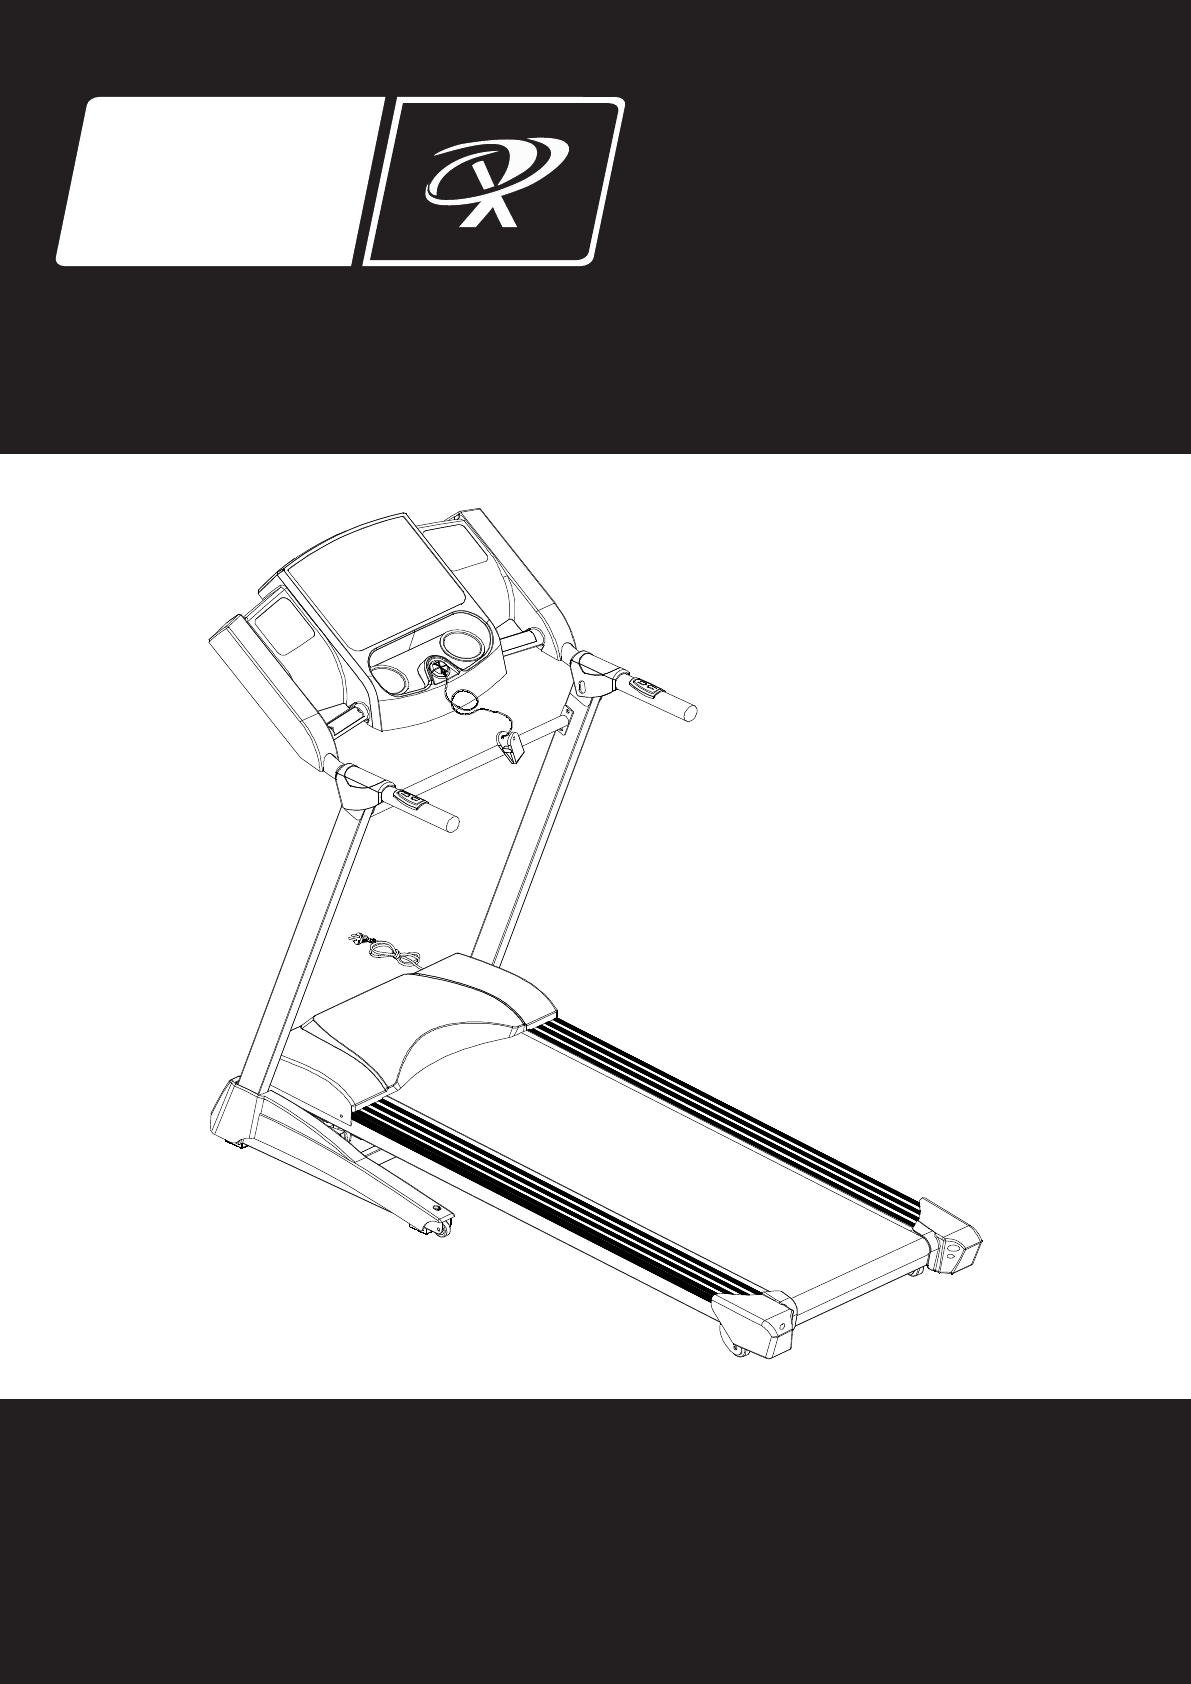
Bodyworx JI1825 Owner's Manual
Browse online or download Owner's Manual for Treadmills Bodyworx JI1825. Bodyworx JI1825 Owner`s manual User Manual
- Page / 22
- Table of contents
- BOOKMARKS
Summary of Contents
BODYWORXBODY WORX 1Retain this owner’s manual for future reference Read and follow all instructions in this owner’s manual
MAINTENANCE1. If the belt tends to move off the centre, stop the treadmill. Take the L-shaped Wrench and adjust the Hex Screw in the Rear End Cap. For
SILICON SERVICING CHARTKM / MILE SPEED SERVICE INTERVALKM6 KM / HR Below 1 Year6 ~ 12 KM / HR 6 Months12 KM / HR Above 3 MonthsMILE4 Mile / HR Below 1
1) General Operation:➢ Turn on the treadmill.➢ Put the safety key in the recess of the console.The beeper will sound. At this time, all windows will d
➢ Press to start treadmill, the treadmill will start with a speed of 1.0 km / hr, at thistime press or keys to increas
1.3 At this time, you can press or to set the distance. After finishing, press to start running, or press
● Height : Pre-set is 170 cm, range : 130 ~ 200 cm, Step is 1 cm, press , to adjust, after choosing the correct value then press
Annex 116
Annex 217
Annex 318
Annex 419
TABLE OF CONTENTSOVERVIEW DRAWING 2 ASSEMBLY STEPS 6SAFETY INSTRUCTIONS 3 CAUTION 9GROUNDING INSTRUCTIONS 4 MAINTENANCE 10PRE-ASSEMBLY CHECK LIST 5 CO
Annex 520
Annex 6
BODYWORXBODYWORXModel No: JI1825To register your warranty, please go to www.gpisports.com.au
IMPORTANT SAFETY INSTRUCTIONSWhen using this product, basic precautions should always be followed, including the following:Please read the instruction
GROUNDING INSTRUCTIONSThis product must be grounded first. If malfunction or breakdown occurs, grounding will provide a path of least resistance for e
PRE-ASSEMBLY CHECK LISTITEM Description Qty ITEM Description QtyA Frame 1 a Truss Hex Screw: M8xP1.25x40 4B Decoration Cover - Left 1 b Truss Hex Scre
ASSEMBLY STEPSWARNING: Don't untie the loincloth until assembly is finished.If you until the loincloth first, it may cause dangerous consequences
2. Put up Upright (L & R) as shown in the right drawing and tighten with Hex Screws (a & b).P.S. To avoid unexpected accidents or injuries, al
4. Wedge cup holder (F) onto the corresponding positions as shown in the right drawing.5. Wedge the left and right handrail covers (D & E) onto th
CAUTIONThis treadmill has a foldable mechanism for storage. Stop all the movements (including stopping the running belt and remove the power cord) bef
Related products and manuals for Treadmills Bodyworx JI1825
 (20 pages)
© 2020, manymanuals.com. All rights reserved. | 0.369 s |
 Manymanuals.com
 Manymanuals.de
 Manymanuals.fr
 Manymanuals.it
 Manymanuals.pl
 Manymanuals.cz
 Manymanuals.es
 Manymanuals-pt.com
Comments to this Manuals